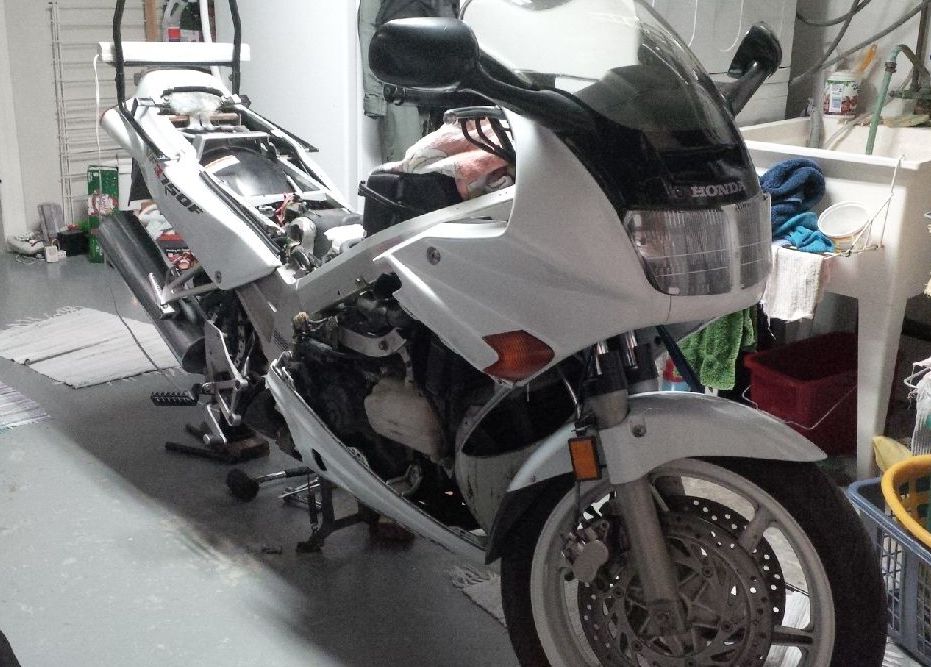
Several years ago I wrote about fork modifications and shock modifications I had done on my 1993 VFR750. This past riding season I finally rolled 100,000 km, and as winter arrived I thought about what further refreshing would be appropriate. The forks had another oil change a few seasons ago but the shock had not had similar treatment so I made an appointment for that.
The service manual says the steps for removing the shock are:
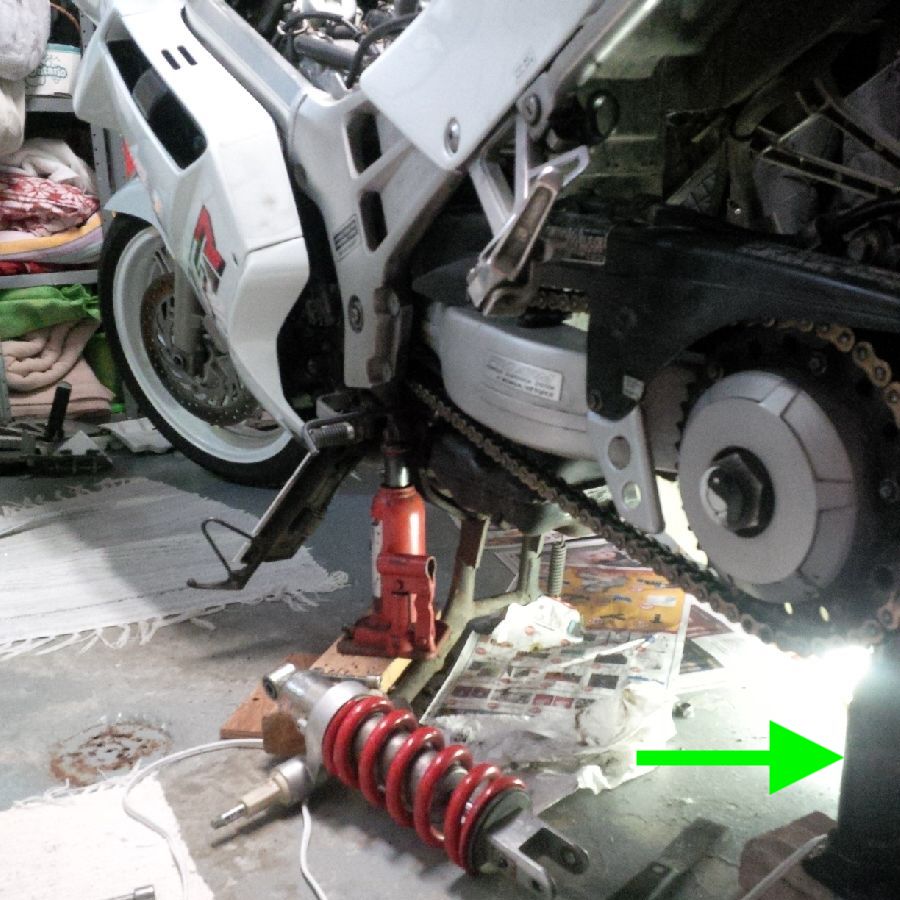
It helps to have a long breaker bar, and a short 17mm socket that fits directly to the breaker bar with no adapter. Clearance is very limited in spots. You'll also need a long socket extension for others. Once the nuts were off and the exposed bolt threads cleaned and lubed, I turned the bolts back and forth (using either a large Allen key or a socket, depending on the bolt) to free it up while tweaking the bottle jack to relieve pressure on the suspension linkage. It then took a few taps with a rubber mallet to poke some of the bolts loose through the bushings and extract them.
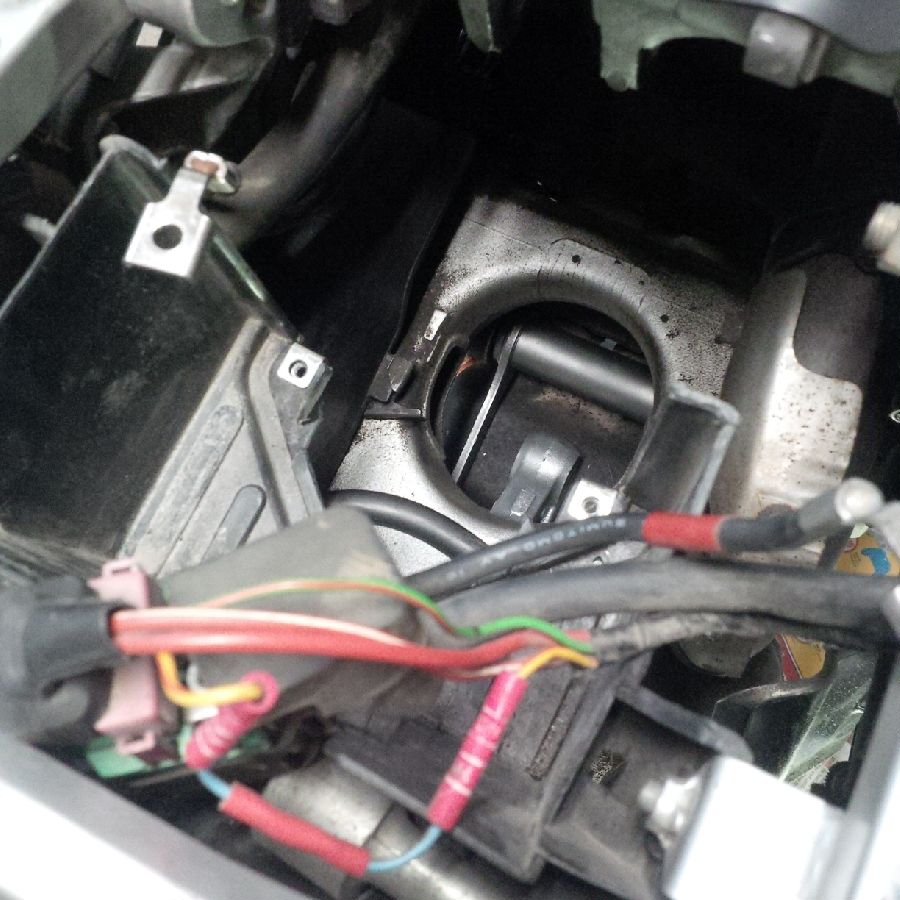
There are openings in the frame etc. to allow tools to access the bolt heads but I had to remove more parts, as listed above, to expose them.
The shock will not lift straight up and out. You'll need to rotate it to withdraw the preload adjuster from the opening in the frame, and past the upper mount points. It'll come out quite easily if you just turn it this way and that to clear obstructions.
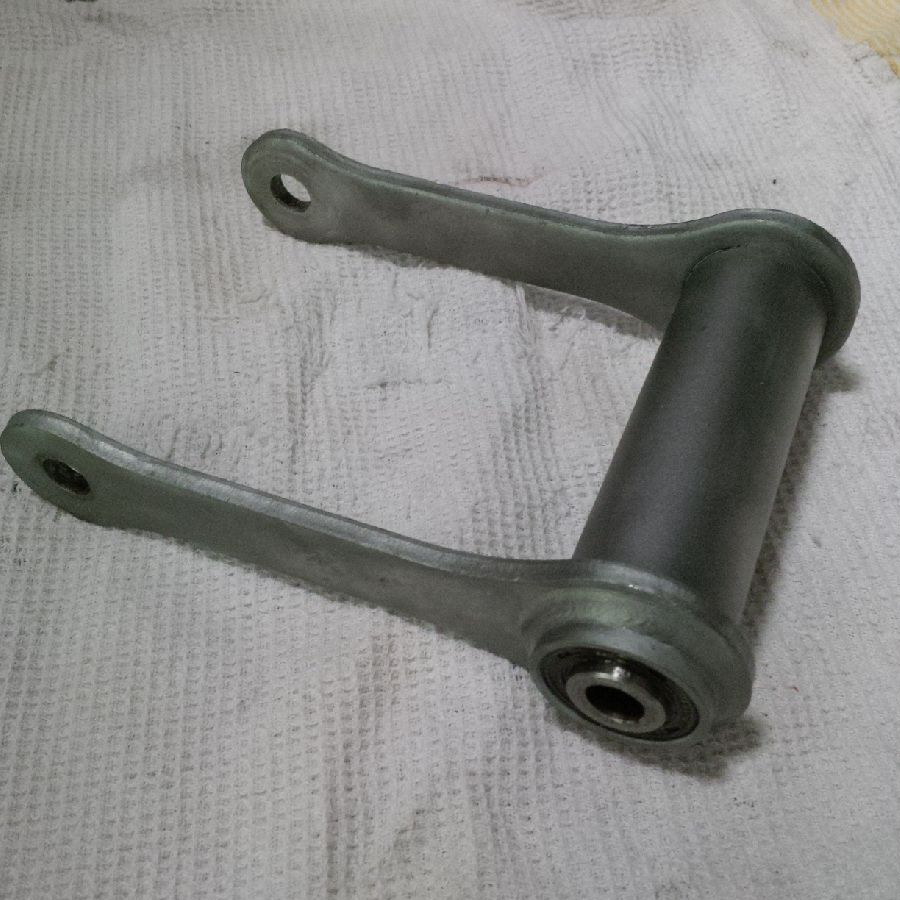
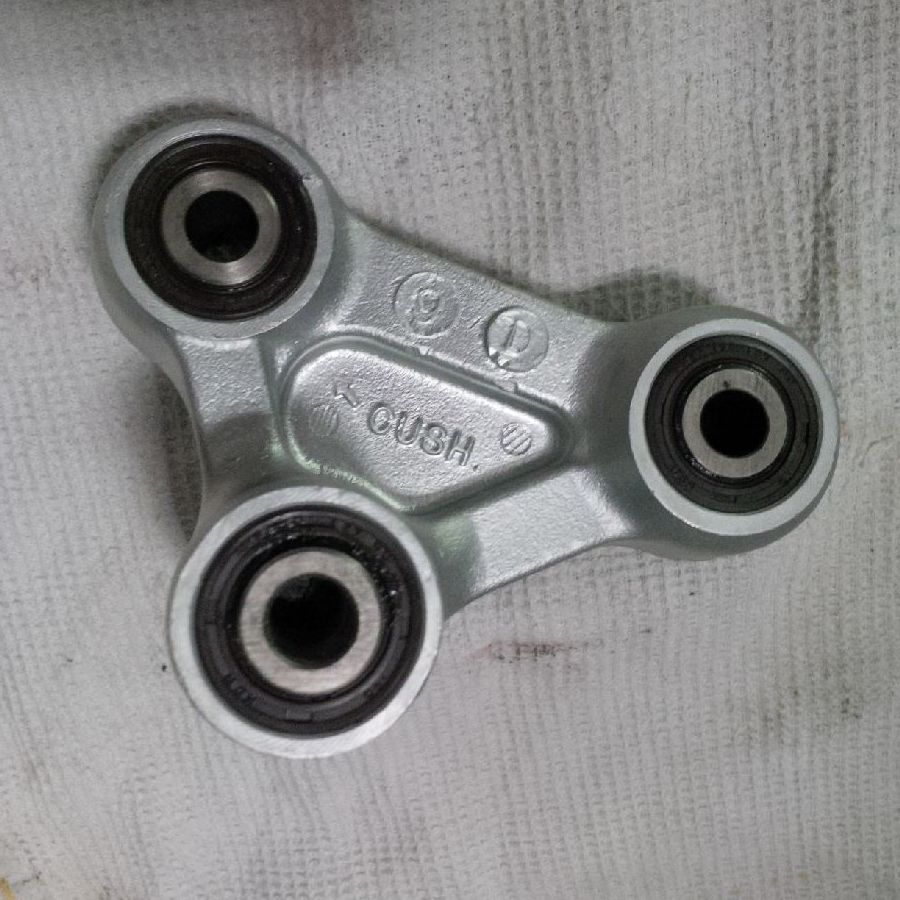
After removing the shock, I also took out the Pro-Link and the dog-legs and front-most bearing/bushing assembly so that all the parts could be inspected and serviced as needed. Why do only a partial job.
After cleaning the removed parts, I took them to Cycle Improvements in Waterloo.
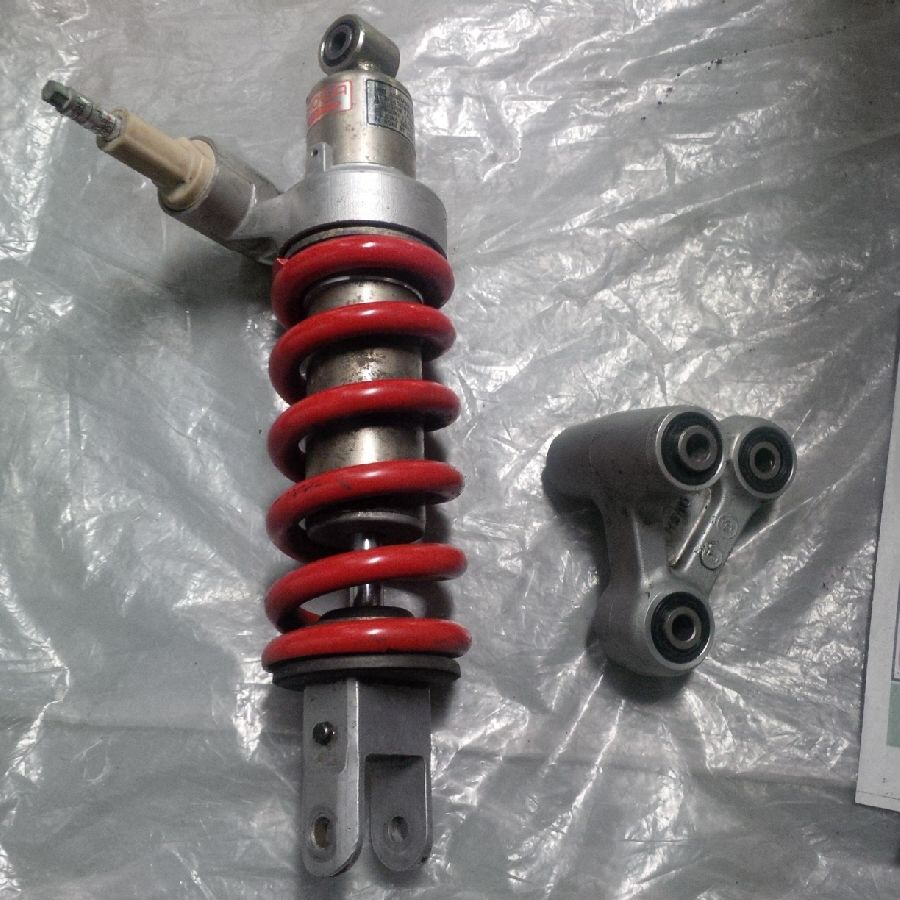
The shock turned out to have a minor problem. While releasing the pressurized nitrogen, a bit of oil spritzed out with it. The same happened when repressurizing after reassembly. This indicates that the bladder that separates the oil from the nitrogen has a very small leak. This separation is what defines a DeCarbon-style shock from an emulsion shock. Unfortunately, in this generation of the VFR shock, the bladder is non-removable and non-repairable, so my shock is now ever so slightly an emulsion shock in practice though not by design. It'll do, until the leak worsens, but it's not ideal.
The oil in the shock was fairly dirty, so it was high time to have had it serviced. That's after about 30,000 km.
Several of the bushings showed obvious visible markings from pressing in one spot against the needle bearings for a long time, and some of the bearings looked a little flattened. Replacement is best. The bad news is that most of these parts are at least back-ordered, and in some cases outright discontinued, by Honda Canada. Fortunately, Cycle Improvements was able to polish up all the bushings to a usable condition. OEM parts are still available from a US supplier (though at a significantly higher price).
Word to the wise, then: don't wait so long to get such things serviced! By servicing them sooner, maybe this wear would have been avoided. And if not, maybe at least new parts would still have been readily available.
All bearings and seals were replaced. These were still available from Honda Canada.

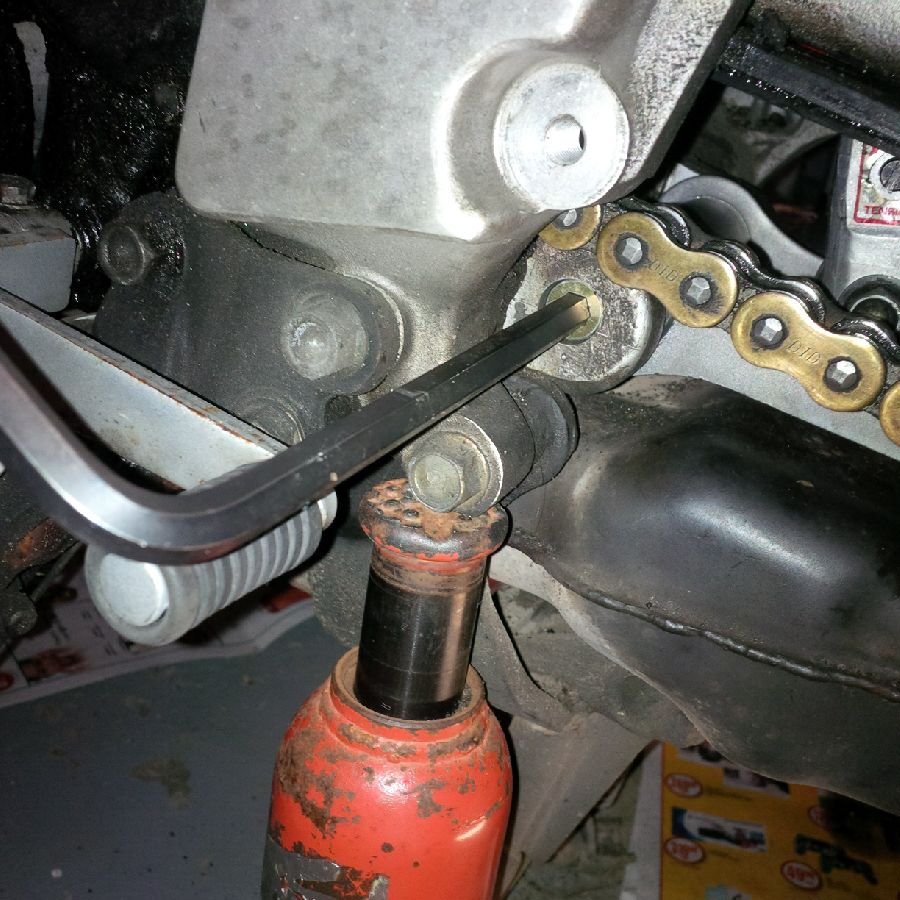
First I reinstalled the dog-leg assembly, just sliding its bolt through, not bothering with the nut yet. (First photo shows allen wrench pushing the bolt through from the left; second photo shows socket and extension on the nut from the right.)
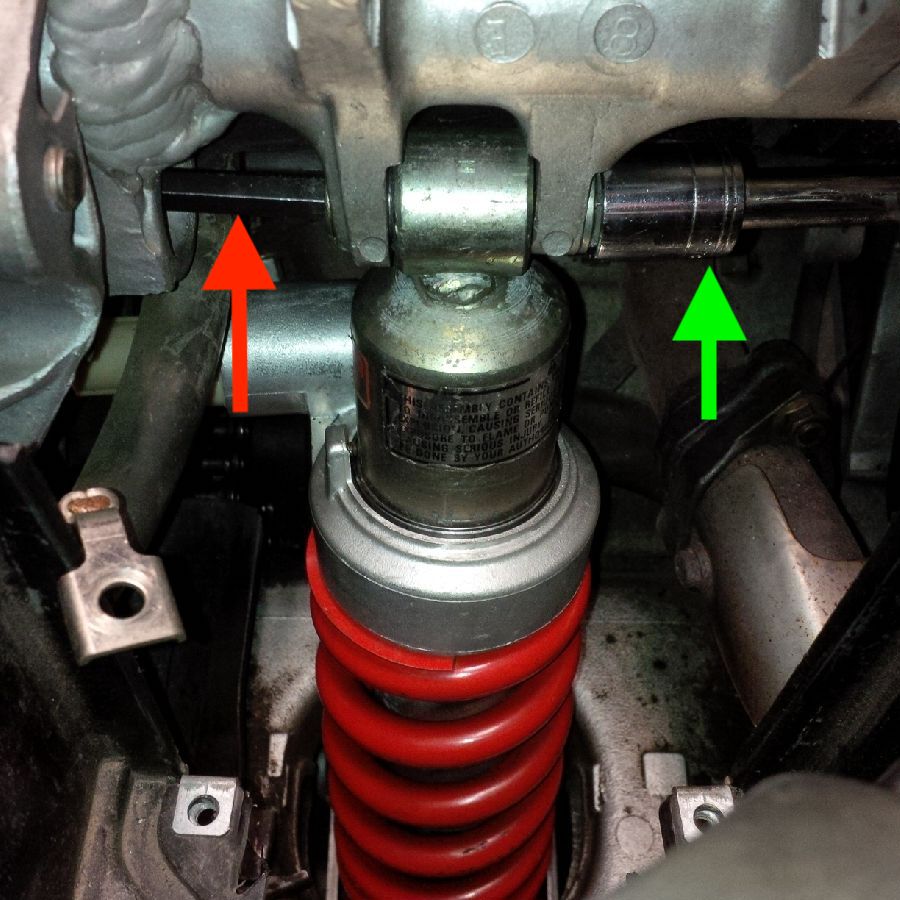
Then the ProLink (cush arm, whatever you want to call it) with one bolt that mates to the dog-legs. Next I hung the shock from its upper mount, again just sliding the bolt in, no nut. (Red arrow shows allen wrench in from the left; green shows socket with extension in from the right, both through frame openings.)
To install the bolt through the ProLink and lower shock mount, two things have to be precisely in alignment. The lower shock mount has to be aligned with the upper mount. These two mount points would be free to move in relation to one another if the spring weren't applying so much pressure. If they are not well aligned, the lower bolt won't slide through the shock mount and the link. If that happens, remove the shock, put the upper mount in a vise, put a bar through the lower mount, and give it a bit of a twist as needed. You're only fighting spring pressure -- it's not an assembly issue. (This is why there's no point in putting the nut on the upper shock bolt yet: you might be taking the shock out to a vise a couple of times to tweak the alignment.)
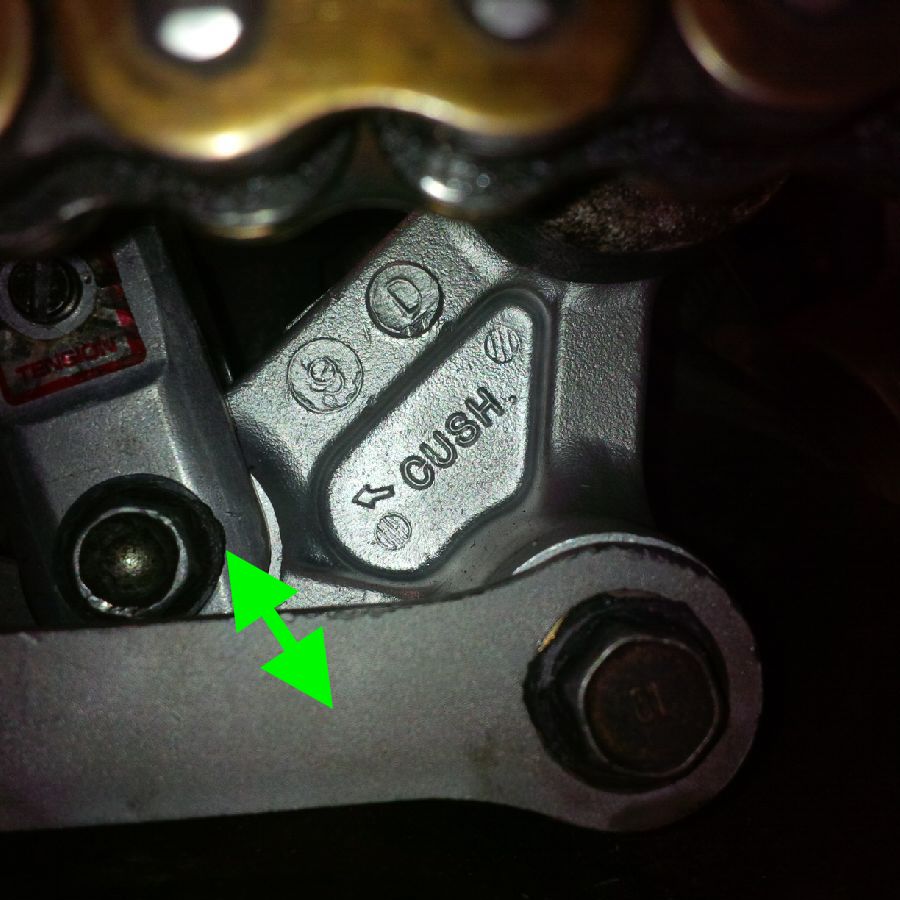
The second alignment issue is that the dog-legs need to be far enough below the lower shock mount that they don't obstruct access. (Green arrows in photo.)
Adjust the bottle jack to lower the swing arm so the dog-legs can move down out of the way. (Maybe you left it in this lower position already when you took out the lower shock mount bolt.) Then you can slide the bolt through the lower shock mount and the ProLink (cush). Torque this nut and bolt now, because the next step will block off access to the head of the bolt. All these bolts take 33 ft-lb.
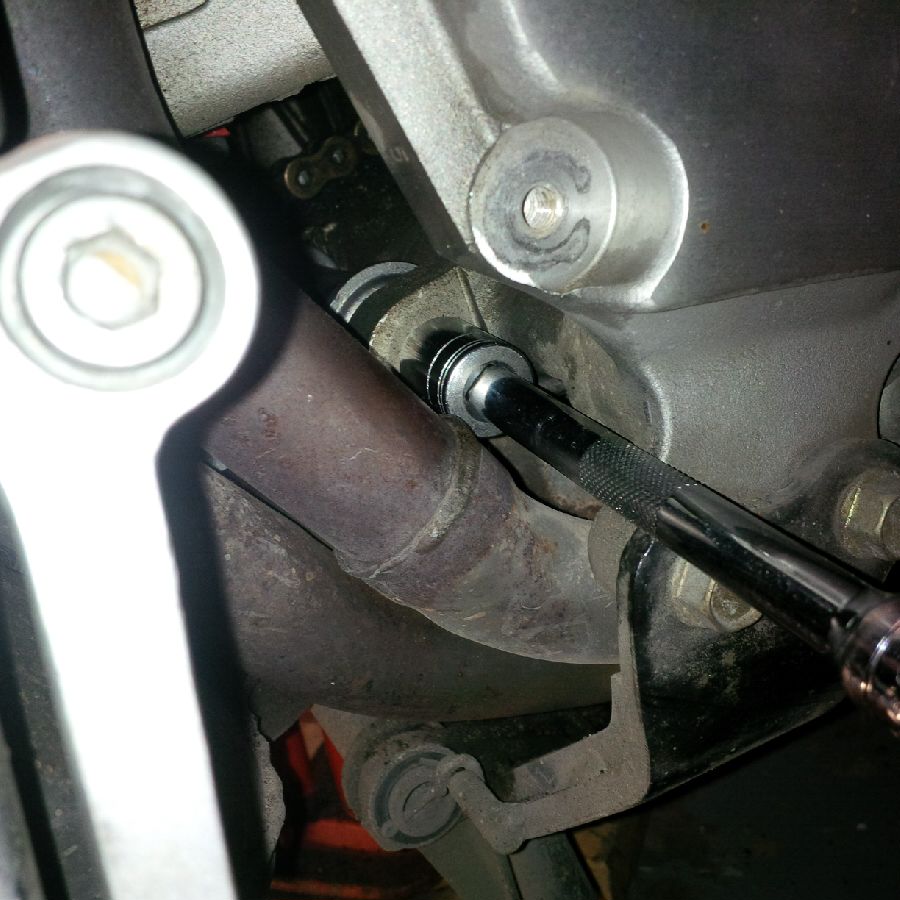
Next you install the last bolt through the swing arm and the third of the three attachment points on the ProLink. This is the trickiest step of all. There is exactly one position in the range of the swing arm's travel at which these parts will line up without any compression of the shock. It took me quite a bit of very careful little tweaks with the bottle jack to position things just right, repeatedly moving the swing arm ever so slightly, holding the link up into place, and sighting through the bolt's path with a flashlight to check before trying the bolt. (Red arrow in photo shows allen wrench in place to push the bolt through.)
Once you get this last bolt through, torque it with the torque wrench on the nut from the rear, where you'll find there's just barely enough clearance, or, use a long extension in from the right side though your socket will sit at a bit of an angle due to the exhaust pipe's being ever so slightly in the way.
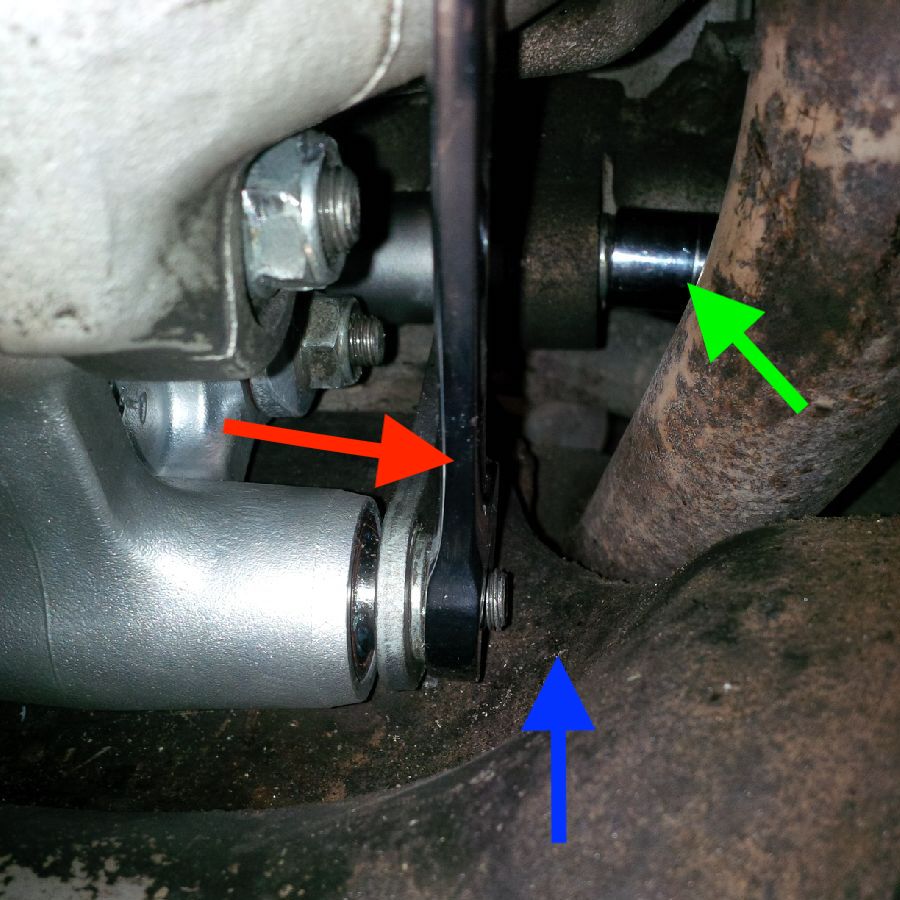
Now torque the dog-leg to the cush arm (ProLink). Here you have to put the torque wrench on the bolt head from the left. There's no clearance (blue arrow) for a socket and wrench head on the nut on the right, just a slim flat wrench (red arrow). (The green arrow shows socket on the front dog leg nut, same as the second photo above in the Reassembly section.)
There is no strain on any parts at any of these assembly steps. The bolts will go through easily if you have everything properly aligned. No force, not even a tap from a rubber mallet, is needed.
Don't forget the nut and torque of the top shock mount.
After this, reinstall all the bits you took off: left and right metal belly pans, left and right footpeg brackets, battery box, gas tank. Reset your preload back to the original setting, and you should be good to go!
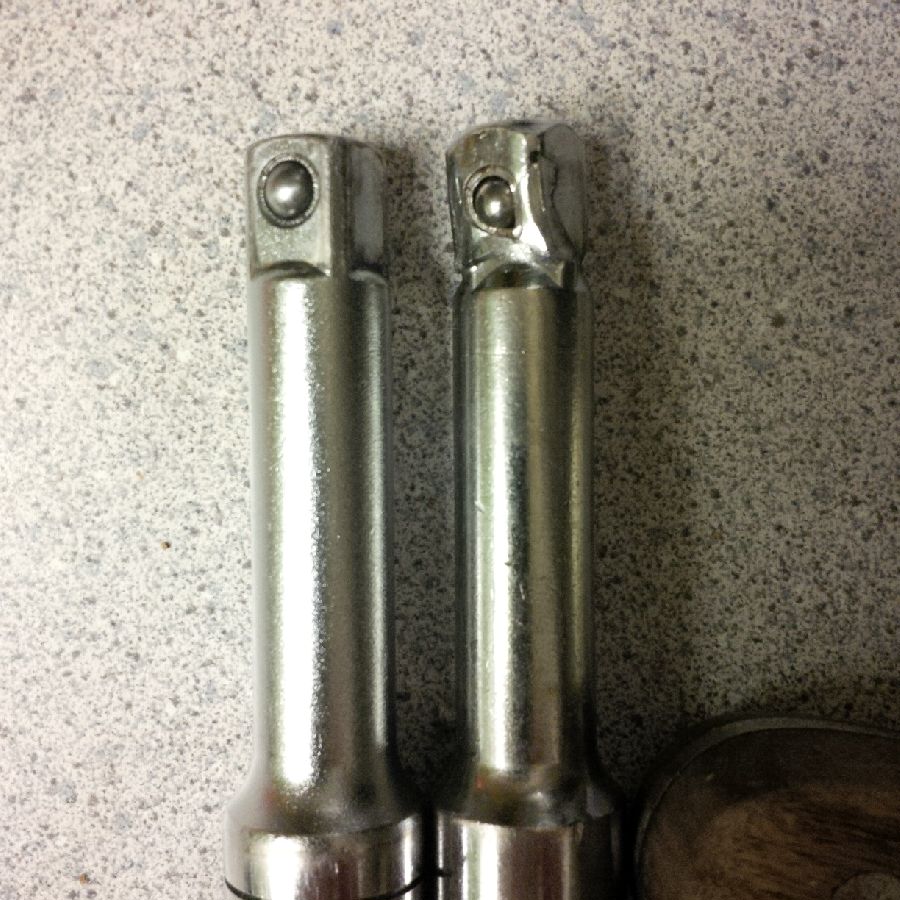
(Oh, and there's no substitute for quality tools (left). Look what happens when you use cheap ones (right)!)
Back to my VFR page.
Back to my main motorcycling page.